After 9 months and many hours, I've finally finished my newest design: Super Hero Blanket. I designed this one for Noah. If you recall, I made a
Spiderman Blanket for Elijah, and wanted to do something similar for Noah. When I asked him which super hero was his favorite, he couldn't name just one. In my mind, I thought, well...why not use multiple??
So I began looking for patterns. Not only were there no patterns for multiple super heroes in one blanket, but there were no patterns for blankets with any super hero logos on them. I soon found out why. It is copyright infringement to sell patterns with those logos on them, as they are owned by their respective parent companies, Marvel and so forth. But not to be deterred, I found the logos I wanted to use, pixelated the images, at times by hand, and created point graphs (spreadsheets) with each image in the dimensions I wanted.
I drew a schematic,
and pretty well stuck to it! I designed it in a block fashion, intending to make each area separately, then seam it together. I chose
Knit Picks Shine Worsted yarn, mostly for economy, but also for ease of care. I've worked with it a lot before, and it's a good yarn.
So back to the beginning, where I only had a pile of yarn. I knew that the logo areas would be challenging, because they involved multiple colors, often covering small areas. The only feasible way to do this in knitting is intarsia. All the blocks were completed using 97% intarsia techniques. The remaining 3% was fair isle knitting, which was used when there were only a few stitches of color needed in an area.

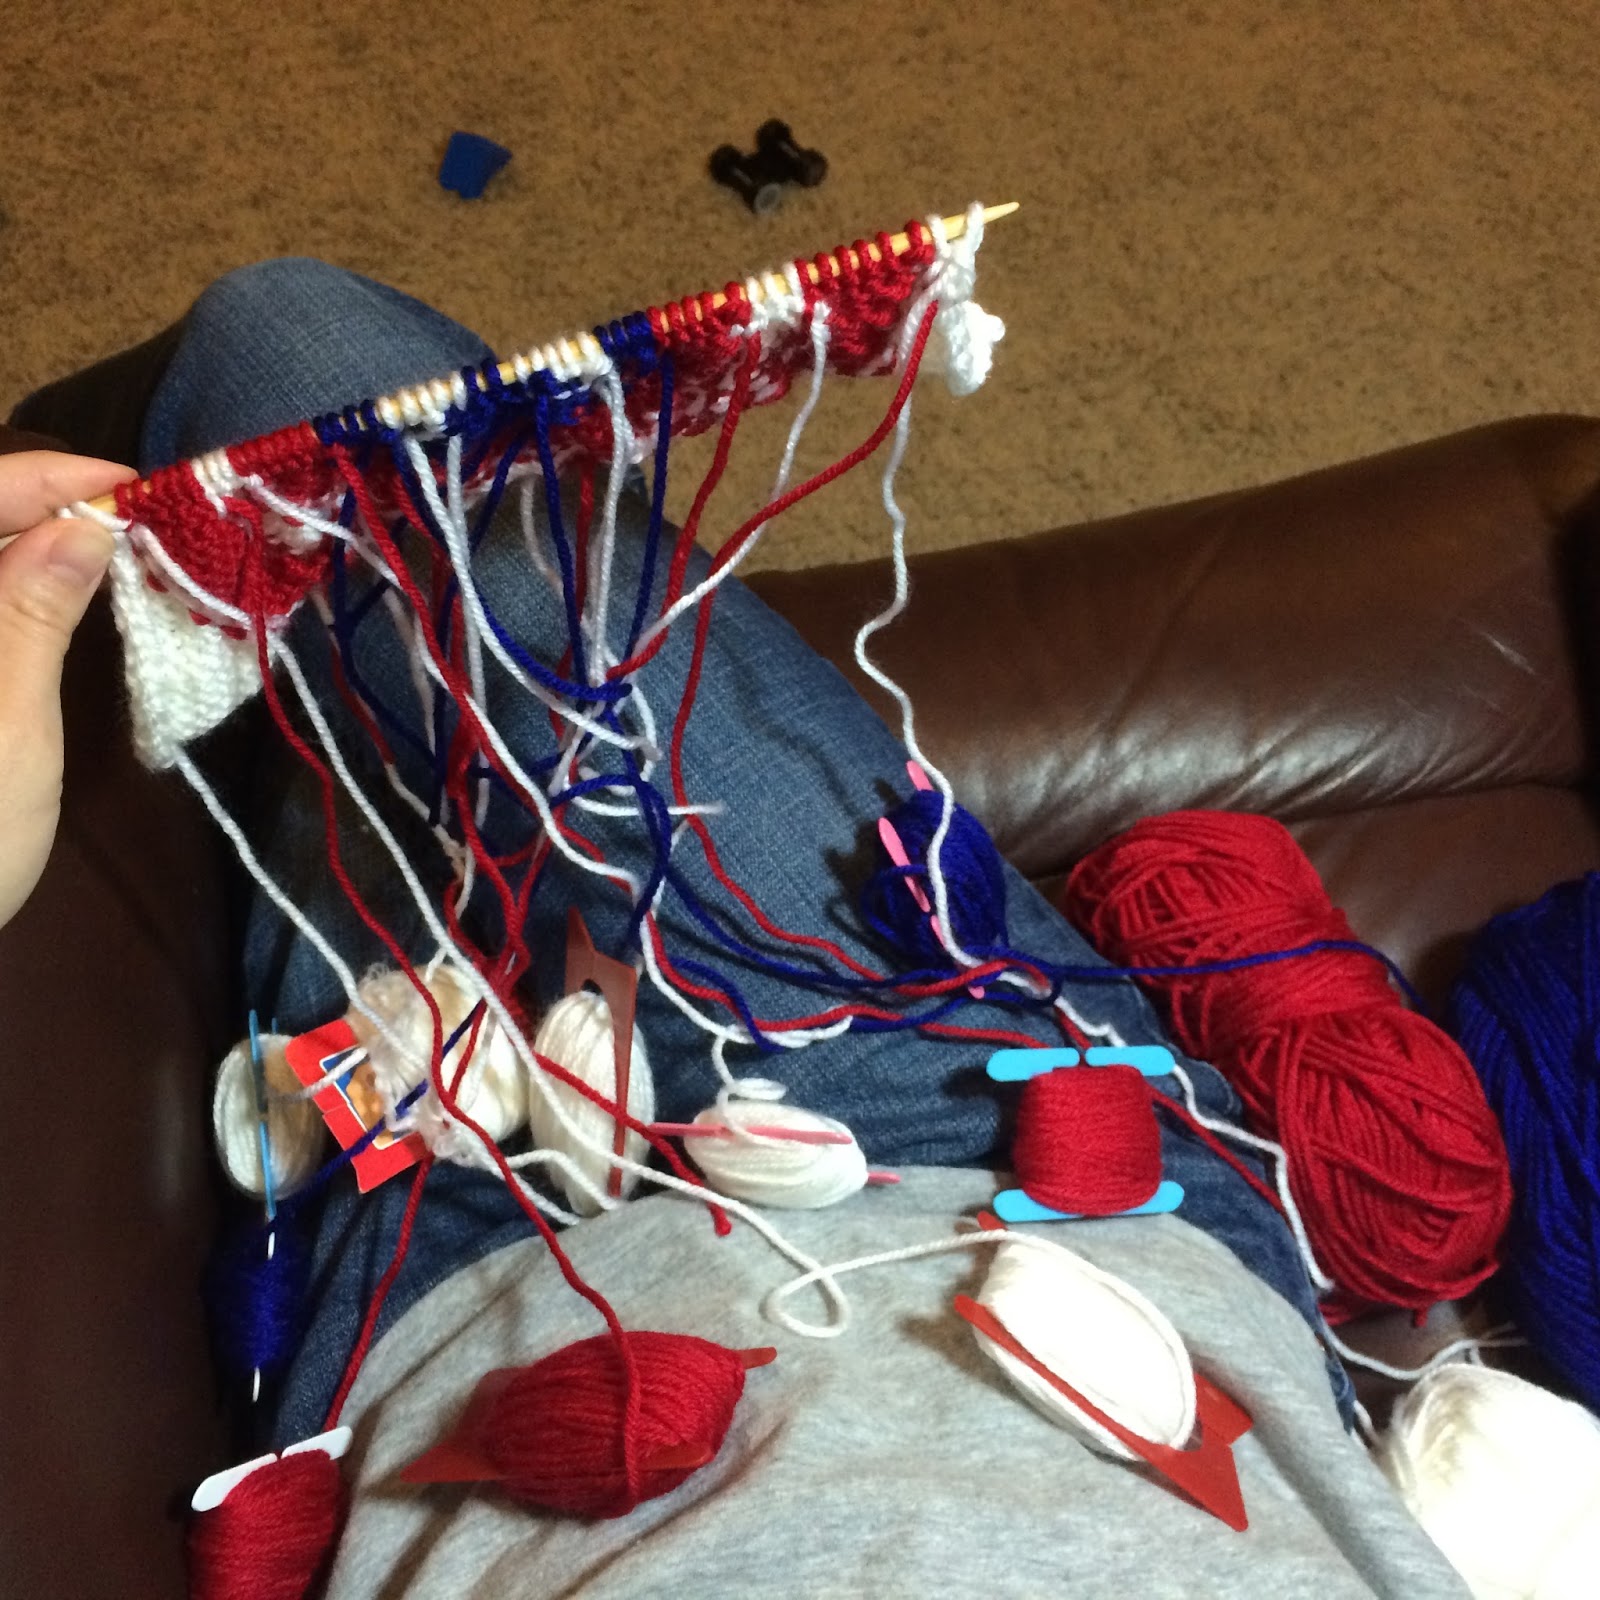
As you can see above, I quickly became overwhelmed with bobbins. For each area of color, a new bobbin is needed. For example, on the Batman panel, which seems fairly easy (especially since it only has 2 colors), I needed to manage 9 different bobbins plus my skeins of yarn, so 11 yarns working at the same time. Things quickly became a twisted mess. But as I worked, I developed methods for keeping things organized. I've shown my work after some experience below. I improved! I won't go into the tedium of the tips I discovered, but if you're making this blanket and need some tips, please contact me.
Skip ahead, quite a ways ahead. The next challenge was the large middle star panel. I placed this design on a spreadsheet as well, but to manage it, it had to be placed on 4 pages to accommodate the number of stitches and still make it readable. With 210 stitches, it took a long time and involved a lot of counting. But I'm so happy with how it turned out.
Once finished with all the design pieces, I laid them out together and measured the areas remaining for the solid color dividing panels. I picked a stitch pattern, and made those. Here are all the pieces completed and ready for blocking and seaming. See all the ends to weave in??? WHEW!
At this point, I was very nervous about how the pieces were going to fit together. I actually completed the first seam, between the corner piece and the Captain America panel, and sat it on the table in my craft room and looked at it for about 2 months. I just wasn't sure the pieces were going to look right once I seamed it, and I didn't want to go to all the work of seaming, if it wasn't going to turn out.
Finally, I got up the courage to just try it. I was confident in my math, and decided to risk it.
Here I am seaming:
I worked across the super hero panels on the top, seaming them to the dividing color blocks. Then I repeated the process with the bottom panels. I gained confidence as I went, realizing I was worried for nothing!
Once the top and bottom panel rows were completed, I pinned them onto the large middle star panel, and seamed. I used the tails of the blocks whenever possible, and joined new yarn when it wasn't. Here I am, seaming along.
AND IT'S FINISHED! I'm so happy with it. And I'm even more proud of myself for being diligent in my work, planning well, and following through on a tough assignment!
Noah has watched me along the way, screeching out "Hey! That's BATMAN!" here and there, but when I finished it, he immediately laid down on it and rubbed his face and arms across it and said, "so beautiful, Mama." All worth it. Right there.
Here are the boys enjoying the blanket after I finished taking a picture.
Now, if you see this and want to make your own super hero blanket, I want you to email me. I am unable to put the instructions up due to those aforementioned copyright laws (not here and not on
my Ravelry design page), but I may or may not have an official pattern written up. Email me: morehoursperday@yahoo.com.